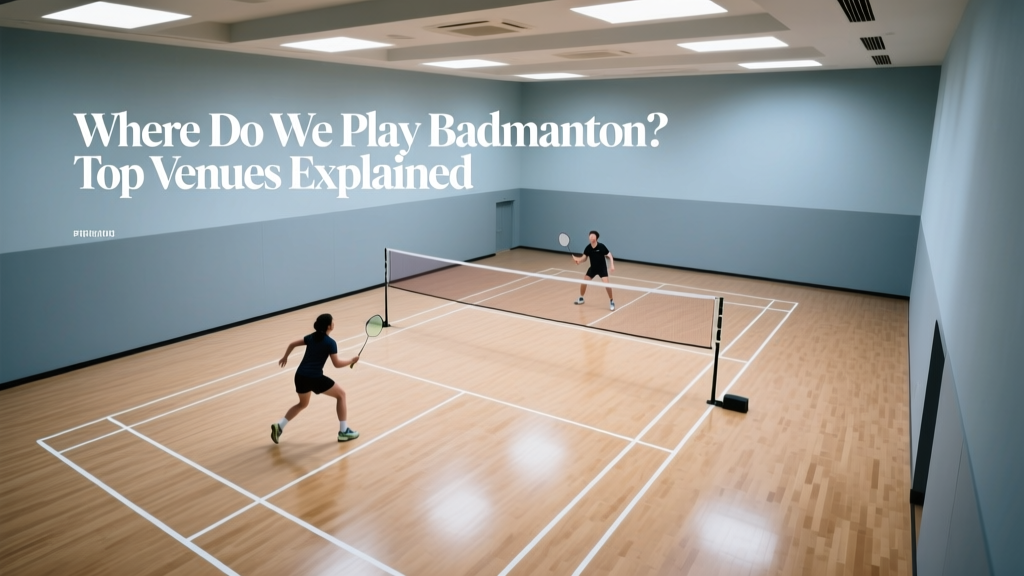
Badminton Footwork Drills: 6 Exercises for Lightning-Fast Court Coverage
Why Footwork Is the Foundation of Badminton
In badminton, you need to cover a court that is 13.4 meters long and 6.1 meters wide (for doubles) in fractions of a second. The shuttle can travel at speeds exceeding 300 mph in professional play, meaning you often have less than half a second to react, move to the shuttle, and execute your shot. Without efficient footwork, even the best racket skills are useless because you simply cannot reach the shuttle in time.
Professional badminton players cover an average of 6-10 kilometers during a singles match, with constant changes of direction, explosive lunges, and rapid recovery steps. This level of movement requires specific training that goes beyond general fitness. The six drills in this guide target the essential movement patterns used in every badminton rally: the split step, the lunge, the chasse step, the crossover step, recovery, and multi-directional movement.
These drills can be practiced without a shuttle or partner, making them perfect for solo training sessions. Aim to spend at least 15-20 minutes on footwork before every playing session. Within 4-6 weeks of consistent practice, you will notice a significant improvement in your ability to reach shots and recover to the base position.
Drill 1: The Split Step
The split step is the most important movement in badminton. It is a small hop performed just as your opponent is about to hit the shuttle, which pre-loads your leg muscles and allows you to explode in any direction. Without a split step, you are starting from a static position, which costs you precious milliseconds on every shot.
To practice: stand in the center of the court in your ready position (knees slightly bent, weight on the balls of your feet, racket up in front of you). Perform a small hop, landing on the balls of both feet with your feet slightly wider than shoulder width. As you land, immediately push off in a random direction: forward left, forward right, backward left, backward right, or directly to either side. Do 3 sets of 20 split steps with directional pushes.
The timing of the split step is crucial. You should be in the air as your opponent makes contact with the shuttle and landing as the shuttle crosses the net. This timing takes practice but becomes automatic with repetition. A common mistake is performing the split step too early or too late, both of which reduce its effectiveness.
Drill 2: Forehand and Backhand Lunges
The lunge is the primary movement for reaching shots at the front of the court. A proper badminton lunge is deeper and more controlled than a typical walking lunge, with the front knee tracking over the ankle and the back leg extended for balance and push-off power.
Forehand lunge practice: from the center of the court, push off with your non-racket foot and take a large step forward and to your racket side with your racket foot. Your front knee should bend to approximately 90 degrees, and your racket arm should extend forward as if reaching for a net shot. Push off the front foot to return to the center. Do 3 sets of 15 on each side.
Backhand lunge practice: the technique is similar but you step with your racket foot across your body toward your non-racket side. This requires more hip flexibility and balance. Keep your upper body facing forward as much as possible and use your non-racket arm for balance. Practice 3 sets of 12 on each side, focusing on smooth, controlled movements rather than speed initially.
Drill 3: Chasse Steps for Lateral Movement
The chasse step (also called the side shuffle) is used for moving laterally along the court, particularly for defensive shots in the mid-court and back court. It allows you to cover distance quickly while maintaining a low center of gravity and keeping your body facing the net.
To practice: start at the center of the court and chasse step to the right sideline, leading with your right foot. Your left foot follows but never crosses behind the right. Touch the sideline with your racket hand, then chasse step back to center and continue to the left sideline. Do 5 complete cycles (center-right-center-left) per set, for 3 sets.
As you improve, increase the speed and add a simulated shot at each sideline. For example, when you reach the right sideline, perform a simulated backhand clear by extending your racket arm upward and backward. This trains the transition from movement to shot execution, which is essential in match play.
Drill 4: Crossover Steps for Back-Court Coverage
When you need to move quickly to the back of the court, the crossover step is faster than the chasse step. It involves crossing your trailing foot in front of your leading foot to cover more ground with each stride.
To practice: start at the center of the court facing the net. To move to the back-right corner, turn your body slightly to the right, push off with your left foot, and take a crossover step with your left foot crossing in front of your right. Follow with a large step with your right foot toward the back corner. You should reach the back of the court in 2-3 steps. Return to center using a chasse step. Practice 10 repetitions to each back corner.
The key to effective crossover steps is the initial body turn. You must rotate your hips and shoulders toward the direction of movement before taking the first step. This rotation allows for a longer, more powerful stride and positions you correctly for the overhead shot you will likely play from the back court.
Drill 5: Recovery Step Training
After every shot, you must return to your base position (roughly the center of the court) as quickly as possible. The recovery step is the transition from your shot position back to base, and it is what separates good players from great ones. Fast recovery means you are always in position for the next shot.
To practice: set up 6 cones in a hexagonal pattern around the center of the court, each about 2-3 meters from center. Sprint from center to a cone, touch it, and immediately sprint back to center. Then immediately go to the next cone. Complete all 6 cones and return to center as one set. Do 4 sets with 60 seconds rest between sets.
Focus on the first step back to center after touching each cone. This push-off step should be explosive and directed precisely toward the center of the court. Many players waste time by taking a step in the wrong direction after their shot, which adds unnecessary distance to their recovery. Train yourself to push off immediately in the direction of your base position.
Drill 6: Multi-Directional Shuttle Run
This drill combines all the previous movements into a realistic pattern that simulates actual match play. You will need a partner or coach to call out directions, or you can use a pre-recorded sequence.
Setup: stand at the center of the court. Your partner calls out one of six directions: front-left, front-right, mid-left, mid-right, back-left, or back-right. Move to that position using the appropriate footwork (lunge for front, chasse for mid, crossover for back), simulate a shot, and recover to center. Your partner immediately calls the next direction. Continue for 60 seconds per set, for 4 sets.
This drill trains your ability to transition between different movement patterns, which is exactly what happens in a real match. The random nature of the directions forces you to react and adjust, building the neural pathways that make footwork automatic during competition. As you improve, increase the speed of the calls and reduce the rest time between sets.
More Articles
 Where Can I Go Hiking Near Me? Find Trails Fast
 Best Basketball For Last: Durability, Grip, and Real-World Performance Tested
 How Much Is an Ironman Triathlon? Cost Breakdown 2025
 Hockey Stick Taping: Blade and Knob Methods
 When Does Ski Season End in Colorado? 2025 Guide
 Where to Buy a Ski Mask: Top 2025 Retailers & Picks
 Will Hot Yoga Help You Lose Weight? Science-Based Answer
 Can Yoga Burn Calories? Yes, Here's How Much
 Best Baseballs for Play: Field Guide for Coaches
 How Many Calories Does Snow Skiing Burn? (By Weight & Type)